I don’t know about you but in my job I get a lot of screenshots attached to emails or embedded in documents, like Word and Google Docs. And for the most part, the screenshots are terrible.
Far too often, people send screenshots of the entire screen, which makes it hard to understand where you’re supposed to focus, or they don’t annotate the screenshots to point out what they’re trying to show you. Yes, a picture is worth a thousand words, but sometimes a few simple words or an arrow really do help.
Here are some tips and tricks for taking better screenshots, as well as some recommendations on tools that you can use to give them a little extra flair.
First of all, I’m a Mac user, so while some of these tips are generic, the tool recommendations are for Mac users like myself. If you need some recommendations for Windows, try LifeHacker.
First Things First: How to Take a Basic Screenshot
Windows users have it easy. Just tap the PrintScreen key. Mac users have a few more keys to press, but also some nice options. If you want to know more, read this guide on taking a mac screenshot. But the basics are really easy:
Take a full screenshot: press Command + Shift + 3
Take a screenshot of a region: press Command + Shift + 4
There’s a whole bunch of other tricks and keyboard combinations, but these are the basics.
You Don’t Have to Show the Whole Dang Screen
Even if you take a screenshot of your entire screen, you don’t need to include the whole dang thing in the version you share with friends or colleagues. This is where a basic image editor comes in handy. Fortunately, Mac’s own built-in Preview tool works beautifully.
Double click on your saved screenshot and then use Preview (or your favorite image editor) to crop it to just the portion that your audience needs to see.
Use a Screenshot App
There are so many dedicated tools and apps out there for helping to capture and annotate screenshots. Need to add some arrows, text or boxes to draw attention to a particular area of the screenshot? Need to blur sensitive data on the screen for privacy? No problem. Many of these tools help streamline the process.
Here are some of my favorite tools for taking screenshots on the Mac.
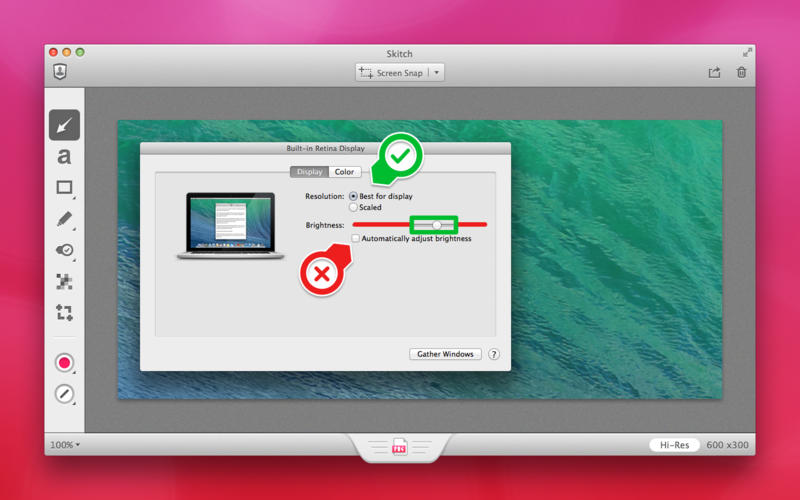
Skitch
Skitch has changed a lot through the years. It’s now owned by Evernote and is integrated into their suite of tools. It makes it really easy to capture your screen and then save it in Evernote, where it’s easily searchable and referenced.

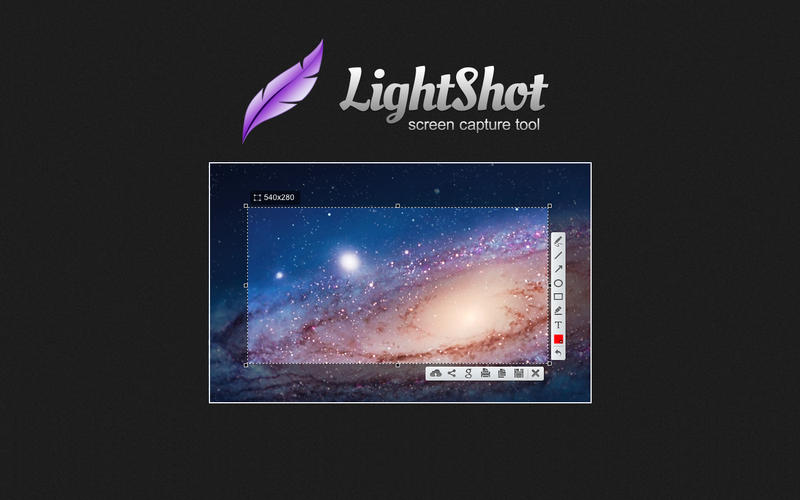
Lightshot Screenshot
Lightshot is another popular tool, but I don’t recommend it. The annotation tools are difficult to use (it’s impossible to figure out how to change the font or size of the text, for example) and it doesn’t do a very good job overall. You’re much better off with Skitch.

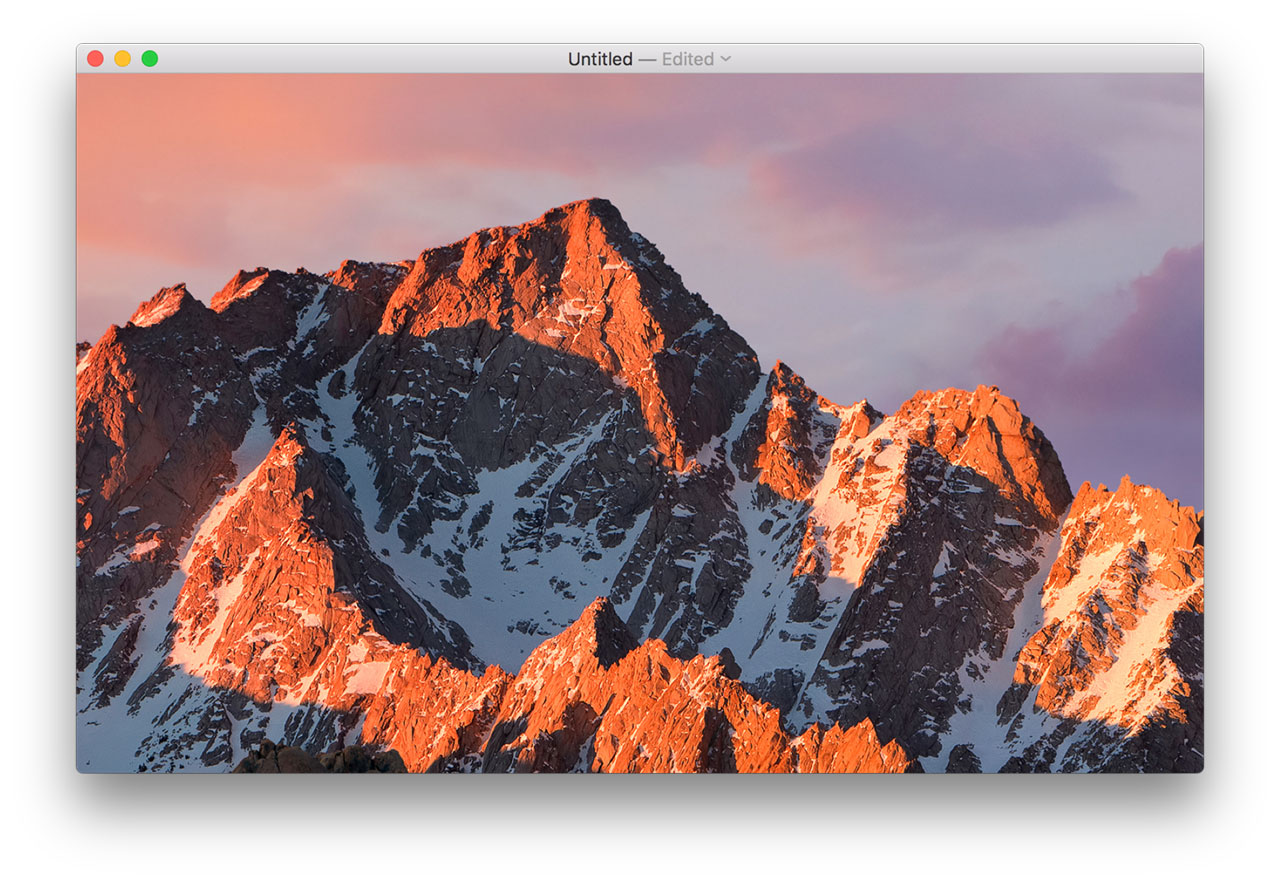
Grab
Grab is a basic screenshot tool that comes with your Mac. It’s in the Utilities folder inside your Applications folder. It doesn’t let you do annotations like Skitch and Lightshot, but it is a nice way to manage your screenshots using something other than the keyboard commands.

