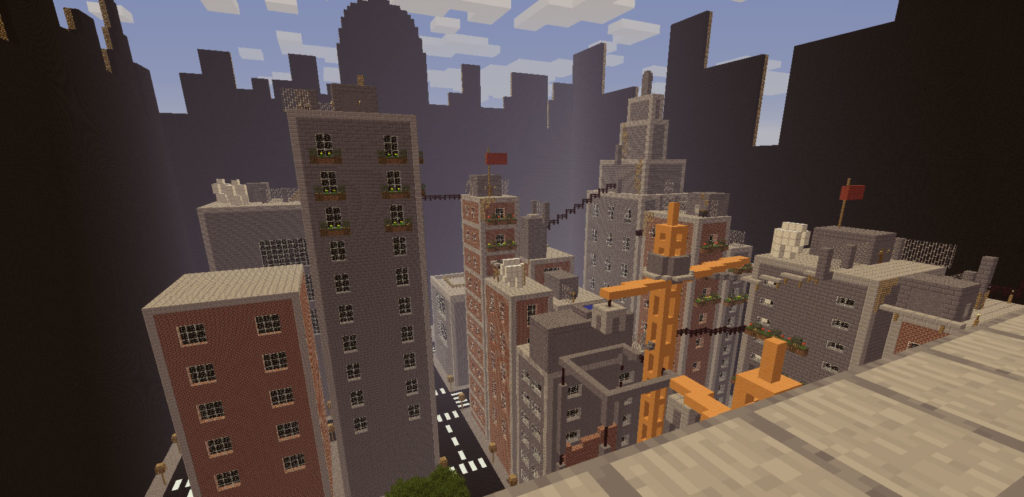
Minecraft maps are custom-created worlds that players create and save within the Minecraft game. They entail a quest to move from one point to another, following certain restrictions. Consequently, the maps can be anything ranging from a great role playing expedition that immerses a player into a great story to an interesting puzzle map that puts to the test your problem-solving skills. The maps just present endless possibilities, the only limit probably being your imagination. Surprisingly, anyone can create amazingly unique worlds with Minecraft; below is a detailed guide on how to install Minecraft PC Version and create exceptional excellent custom maps.
Minecraft PC Edition
This edition is Java-based, and you can play on any Mac, Linux or Windows machine provided you’ve installed suitable hardware and software. While Minecraft appears to be simple, beneath the surface, this game is somewhat sophisticated. The procedural creation of the game and in-game physics requires beefy hardware. Consequently, the edition has a lengthy demo that its designers highly recommend taking advantage of buying to establish if your computer has everything it takes to enjoy Minecraft experience.
How to sign up and install Minecraft PC Version
Start by signing up for an account free of charge and either play the demon or go straight to buying a copy of the game. Signing up is quite simple; you only provide a valid email address and a password(which you create). A verification email from the developer prompts you to confirm your email. On clicking on the confirmation link, it takes you to the next stage of the sign-up process: setting up a username and buying the game.
Now proceed to download and install the game. On the download window, select the right download for your PC; if you’re using Windows, select Minecraft.exe; for Linux, or any other OS capable of running JAVA, use Minecraft.jar file. Operating System X users, on the other hand, should use the Minecraft dmg file (named Minecraft.dmg) that you locate in your Downloads folder.

How to Build Minecraft maps
Step 1: Create the landscape
There are several ways to creating a great scene including
Shaping the world by hand; this approach is, however, suitable for a minuscule project and only when you have plenty of free time. Otherwise, you should consider using any of the following mods or programs;
World Edit, a portion of the SPC (Single Player Commands) mod allows you to alter and shape the terrain from inside the game. It, nonetheless, requires some amount of learning curve.
MC Edit, an open source program that enables you to update your present world. It is somewhat clunky but has several essential features like the ability to utilize some MC edit features to execute an array of things.
Voxel Sniper is a very powerful tool that you can use when terraforming your world. This program is not only versatile but also serves as a wonderful compliment to World Edit.
Step 2: Build the structure
The choice of the edifice to create depends on what you need for your adventure map.
Step 3: Add the details
After building the structure, you need to append the details. Use any of the following ways to achieve your objective;
Sign Dialogue: Here you use a symbol to deliver the dialogue the player is speaking to or by. If speaking to; you typically should trap an NPC, Villager or any other item akin to them.
Found Notes: Among the very many ways to implement Found Notes are Image to map which converts a photo to an in-game map and Command Blocks, the most powerful block in Minecraft. The latter, nonetheless, requires that you first switch to creative mode and enable the cheats.
Step 4: Add loot and additional features
Finally, add the loot(if any) for your players along with any other feature hat you might require, like red stone contraptions. It is advisable to be at least relatively handy with red stone because it can significantly affect the impressiveness of your maps.
Step 5: Get inspired!
There are many collections of the best Minecraft Maps out there. See what other players are making to get inspired with creative ideas of your own.
Minecraft PC edition is the most versatile and evidently provides the most bang-for-money especially if you consider the various multiplayer servers. This version, additionally, allows you to change the entire game using different mod packs entirely. Use the above comprehensive procedure to install and create Minecraft maps. Take your time while building the maps; avoid rushing or setting deadlines that are too tight, because doing so affects, adversely, the quality of the outcome.
How to Download and Install Minecraft Maps
Minecraft is a world of infinite creativity, and the almost limitless selection of maps available online is a testament to that. You will find maps to suit any taste, from simple to incredibly complex, all produced by additional players and shared for the community. If you were thinking how you can add custom maps to your computer version of Minecraft, we came up with this step by step guidebook to help you out on how to install Minecraft Maps.
How to Install Minecraft Maps on Windows
Step 1: Download the map
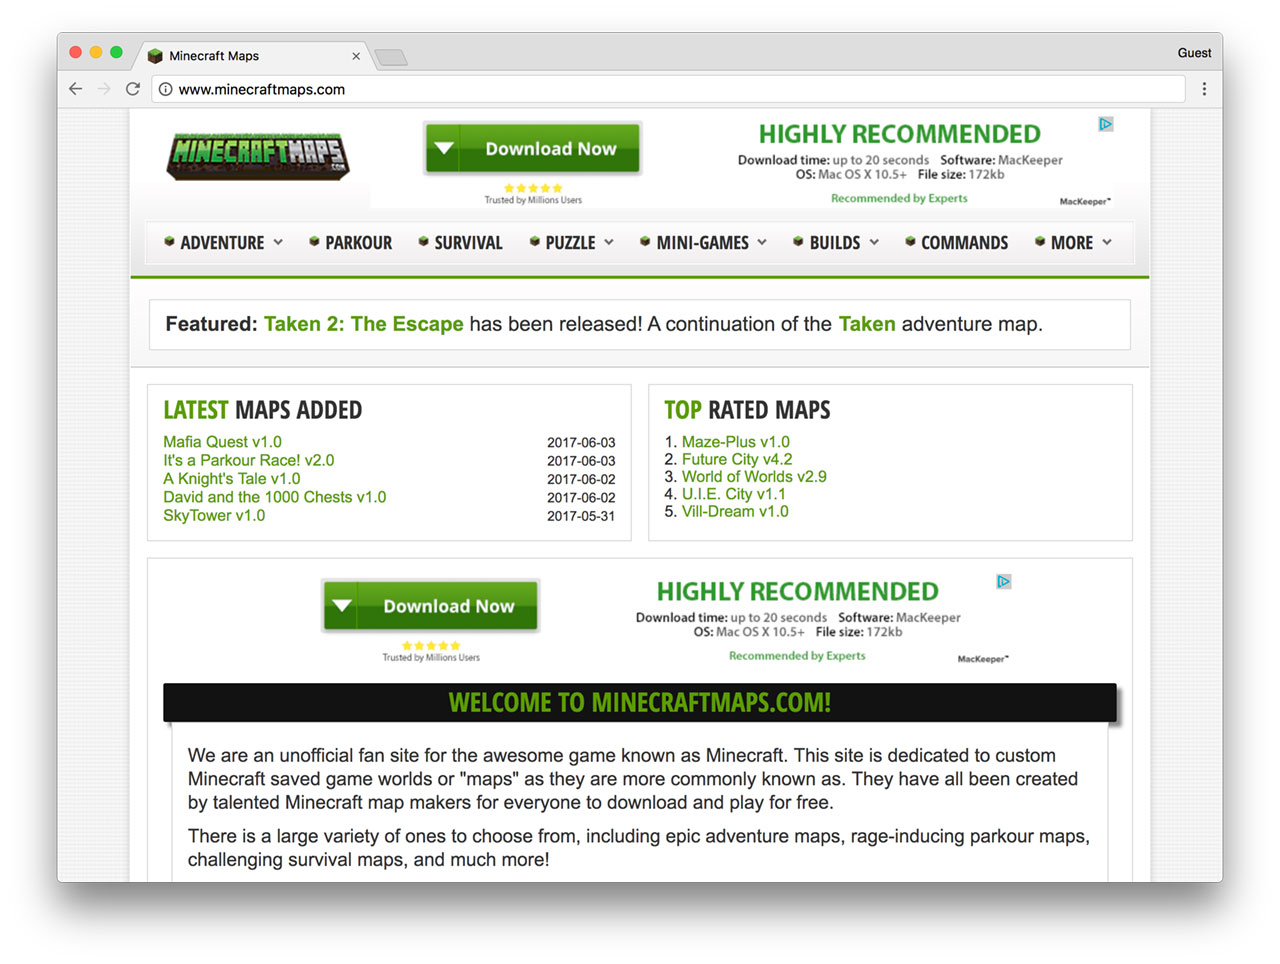
Minecraft maps are available as free downloads from websites such as MinecraftMaps.com, Minecraft Worlds from Curse Gaming and MinecraftDL. To download the archived map file to your computer, click the “Download” or “Download Map” switch. These websites have maps in different groups that are suitable for different playing styles, such as surviving, solving puzzles and killing monsters. The maps are typically made by followers who distribute them for free.
Remember that searching for Minecraft maps quickly qualified prospects you into a twilight of shady web pages. There are a lot of viruses out there, so be careful what you download. Stick to well-known discussion boards, and don’t stick to links to unusual ones.

Step 2: Unzip the file
The maps you find from the net tend to be zipped or compressed to ensure that they take up small space and become downloaded faster than map files which have not been zipped. You can identify the zipped files by their extensions easily, such as for example .zip (a common regular in Home windows and Operating system X) and .sit.
Unzipping the .zip or .rar document is necessary to ensure that Minecraft may find them. You shall are required to have a file archiver program to get this done, such as for example 7-Zip (Home windows). In the zip file may be the global globe folder of the map that you downloaded. Click on this once to choose it and go through the Extract To key then. A fresh window will pop-up. Here you may select where in fact the folder is wished by you to end up being extracted. Click OK if you have chosen a location.
You shall are required to have a different program like the Unarchiver for .rar files. That is clear of the App Shop and functions in specifically the same manner as the built-in zip device – simply double-click the archive document and the data files and folders will immediately end up being extracted to the same area.
When the downloaded zip file contains multiple items, the unzipped files will be kept in a folder which has the same name since the initial zip file. For instance, if you unzip a document known as minecraftmap.zip, the files shall be positioned in a folder called minecraftmap. This folder shall be positioned in the same folder as the minecraftmap.zip file.
Step 3: Open up the extracted folder
Open up the folder that you made by extracting the map file simply. If you open up the folder with the map’s name, you should find many folders and data files, including a known level.dat document, a data folder, and many other files. Keep this open up for the present time.
Step 4: Open up the Minecraft will save folder
When you have the map pack, it’s period to demand conserve folder of your Minecraft profile. By default, the save folder is in the following location:
C:\Users\[yourusername]\AppData\Roaming\.minecraft\saves\
Step 5: Duplicate the map folder to the will save folder
Duplicate the map folder containing the known level. dat data and document folder from the various other window in to the saves folder. Once you’ve place the map into your will save folder, get on Minecraft as you generally do and you will at this point find the brand new maps in your set of available worlds.
Step 6: Begin Minecraft
Finally, you need to find your brand-new save among all of your other saves. Generally, the real name of the brand new custom map should come in the set of worlds. Select the global globe, and click “Enjoy Selected Globe” to begin exploring the brand new custom map.
You did it! You will have all you need to set up a customized map probably the most well-known PC games ever. Therefore experiment, try any maps that passions you, and keep an keen eye on innovative and fantastic maps because they become available around the net.
How to Install Minecraft Maps on Mac OS X
The instructions for installing Minecraft Maps on OS X are similar to the instructions for Windows, but with these important differences.
Your save folder on the Mac OS X system is located here:
/Users/[yourusername]/Library/Application Support/Minecraft/saves/
You should use the built-in Archive Utility on Mac OS X to decompress the downloadable file. The “Archive Utility” included in OS X can open .zip data files by right-clicking on the .zip and selecting “Open up With > Archive Utility”. The data files and/or folders will be deposited to the same area as the zip, and the zip could be deleted.
So remember, the steps are:
- Open up the Finder.
- Select Move and Head to Folder…
- When prompted, enter (without rates) “/Users/[yourusername]/Library/Application Support/Minecraft/saves/”
